


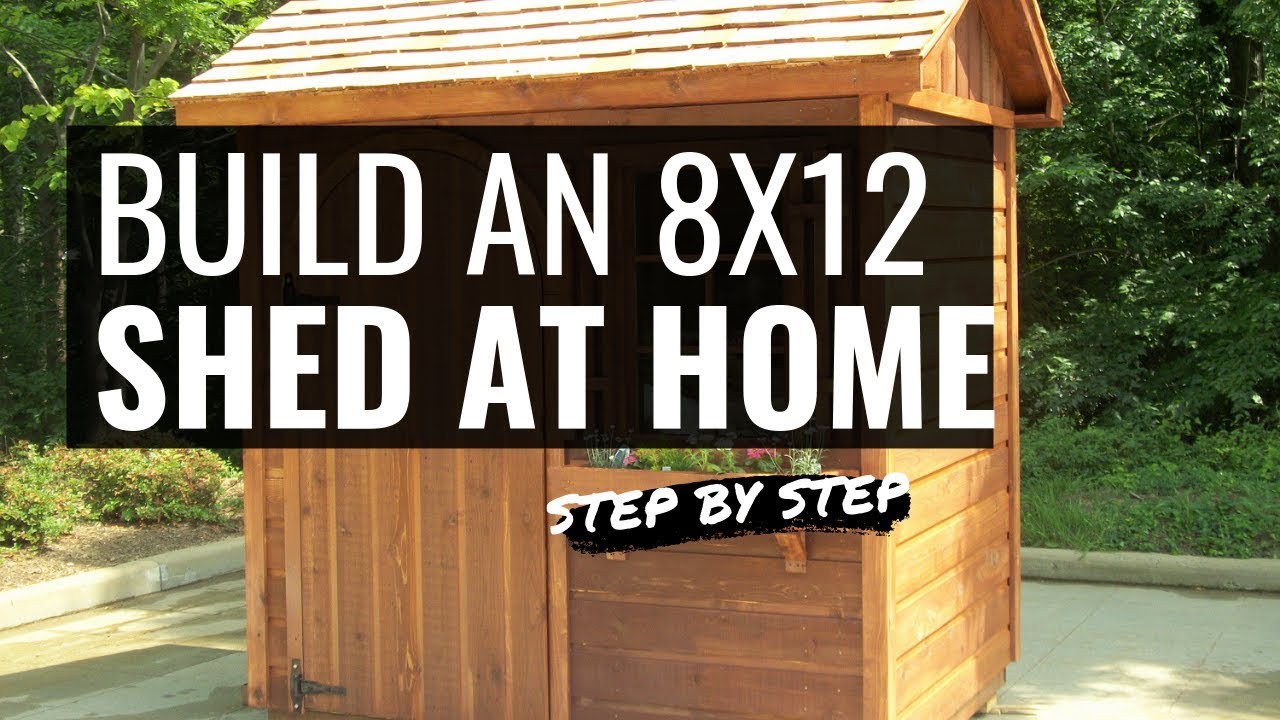
Building Your Dream 8x12 Shed with Loft: A Comprehensive DIY Guide
Building your own shed can be a rewarding experience, offering a sense of accomplishment and a customized storage solution perfectly tailored to your needs. This guide provides a detailed step-by-step plan for constructing an 8x12 shed complete with a loft, maximizing your storage space. We'll cover everything from planning and material selection to the final touches, ensuring you have a sturdy and attractive structure to enjoy for years to come. Get ready to roll up your sleeves and transform your outdoor space!
Phase 1: Planning and Preparation
Before you even touch a tool, meticulous planning is crucial. Begin by securing the necessary permits from your local authorities. This critical step avoids potential fines and ensures your project complies with all building codes. Next, choose a suitable location for your shed â€" consider factors like sunlight, access, and proximity to utilities. Then, create detailed drawings of your 8x12 shed with loft, including precise dimensions for walls, roof, and loft area. This serves as your roadmap throughout the entire construction process. Don't forget to list all the materials you'll need, including lumber, fasteners, roofing, and insulation. Creating a detailed shopping list ahead of time saves time and frustration later on.
Site Preparation
Level the chosen ground thoroughly using a shovel and a spirit level. This ensures a stable foundation for your shed. Remove any debris, rocks, or vegetation that could interfere with the construction. Mark the perimeter of your shed using stakes and string to guide you during the foundation construction.
Material Selection
Select pressure-treated lumber for the foundation and floor joists for superior durability and resistance to rot. Opt for quality plywood for the walls and roof sheathing. Choose a roofing material that suits your style and budget; asphalt shingles are a popular and cost-effective choice. Consider the insulation you need based on your climate; proper insulation will regulate the temperature inside the shed.
Phase 2: Foundation and Floor Construction
A solid foundation is paramount for a sturdy shed. We'll build a simple concrete slab foundation. First, excavate the area according to your plan's dimensions, ensuring the depth is sufficient for your local frost line. Compact the ground thoroughly. Then, create a formwork using lumber, ensuring it's level and plumb. Mix the concrete according to the manufacturer's instructions and pour it into the formwork, ensuring even distribution. Allow the concrete to cure completely, which usually takes at least 24-48 hours before proceeding. Once cured, remove the formwork. Next, install pressure-treated sill plates on top of the cured concrete, securing them with concrete anchors. Build your floor joists using pressure-treated lumber, ensuring proper spacing and support. Finally, attach plywood sheeting to create a solid floor.
Phase 3: Wall Construction
Construct the walls using your pre-cut lumber. Begin by building wall frames, ensuring they are square and plumb. This is where accurate measurements from your plan pay off! Use appropriate fasteners, and brace the frames for stability during construction. Attach the plywood sheathing to the frames, ensuring proper alignment and securing it with nails or screws. Repeat this process for all four walls, ensuring they are all identical in size and construction. Remember to install windows and doors during this stage. These should be framed correctly within the walls to ensure a weather-tight seal.
Phase 4: Roof Construction
Construct the roof trusses according to your design. You can either purchase pre-fabricated trusses or build them yourself based on your plans. Remember to follow proper bracing techniques to maintain structural integrity. Lift the trusses into place and secure them to the top plates of the walls. Install the roof sheathing, ensuring it's properly aligned and fastened. Finally, install the chosen roofing material, following the manufacturer’s instructions. This might involve underlayment, flashing, and shingle installation.
Phase 5: Loft Construction
Building the loft requires careful planning and execution. Start by constructing the loft floor joists, ensuring they're securely supported by the main structure. Use strong, durable lumber for this. Once the joists are in place, attach plywood to create the loft floor. Install railings or guardrails for safety, ensuring compliance with relevant building codes. Consider adding a ladder for access to the loft area.
Phase 6: Finishing Touches
Once the main structure is complete, it's time for the finishing touches. This involves adding exterior siding or cladding to enhance the shed's appearance and weather resistance. Install any trim and moldings for a professional finish. Paint or stain the exterior to protect the wood and add curb appeal. On the inside, consider adding insulation and drywall for a more finished look. Don't forget to install lighting and electrical outlets if needed. Remember to always follow electrical codes and regulations.
Building an 8x12 shed with a loft is a significant project, but with careful planning, diligent work, and this guide, you can create a valuable and useful addition to your property. Enjoy the process and the satisfaction of building something with your own hands!


No comments:
Post a Comment
Note: Only a member of this blog may post a comment.