


Build Your Dream Garden Pallet Shed: A Simple DIY Project
Tired of garden clutter taking over your precious outdoor space? Dreaming of a stylish and functional storage solution that won't break the bank? Then build your own small pallet shed! This easy DIY project uses readily available materials and requires minimal tools, making it perfect for weekend warriors and seasoned DIY enthusiasts alike. Forget expensive pre-fabricated sheds; let's create something unique and personal, tailored to your garden's needs.
Planning Your Pallet Paradise: Materials and Tools
Before you dive into the construction, gather your materials. The beauty of this project lies in its adaptability; you can adjust the size and features based on your available pallets and storage requirements. Ideally, source sturdy, treated pallets to ensure longevity and weather resistance. Inspect each pallet carefully for damage before you start. You'll want to choose pallets with relatively few gaps between the boards for better weather protection.
Essential Materials:
- 8-12 reclaimed pallets (depending on desired shed size)
- Exterior-grade wood screws (various lengths)
- Wood glue
- Hammer
- Measuring tape
- Level
- Drill with drill bits
- Safety glasses
- Optional: Roofing felt, exterior paint, hinges, latch
Preparing Your Pallets:
Thoroughly clean your pallets to remove dirt, debris, and any loose nails or splinters. Use a wire brush to scrub stubborn dirt and then carefully check each plank for any rot or significant damage. If necessary, reinforce weak areas with additional wood supports or replace damaged planks. Remember safety first â€" always wear gloves and safety glasses when working with wood and tools.
Construction: Building Your Pallet Shed
Now for the fun part! Begin by assembling the floor. Lay out your pallets, ensuring they're level and securely fastened together using wood screws and glue. Consider adding a layer of plywood underneath for added stability, especially on uneven ground. Once the floor is complete, construct the walls. Use additional pallets to create the four walls. Remember to measure and cut any necessary pallets to fit your desired dimensions.
Wall Construction and Assembly:
Secure each wall section together, paying close attention to creating sturdy, square corners. Pre-drilling pilot holes before screwing is crucial to prevent the wood from splitting. Use wood glue in conjunction with screws for enhanced strength and durability. Once the walls are assembled, carefully lift and attach them to the floor, ensuring they are plumb and level. For a more aesthetically pleasing finish, consider using reclaimed wood trim to cover the gaps between pallets.
Roofing and Finishing Touches:
Construct a simple roof using more pallets, angling them to create a shed-style roof. Secure the roof securely to the walls. Consider adding roofing felt for added weather protection and to prevent leaks. Once the structure is complete, you can paint the shed to match your garden’s aesthetic or leave it with a natural, rustic look. Add a simple latch and hinges to the door for security and convenient access to your garden treasures.
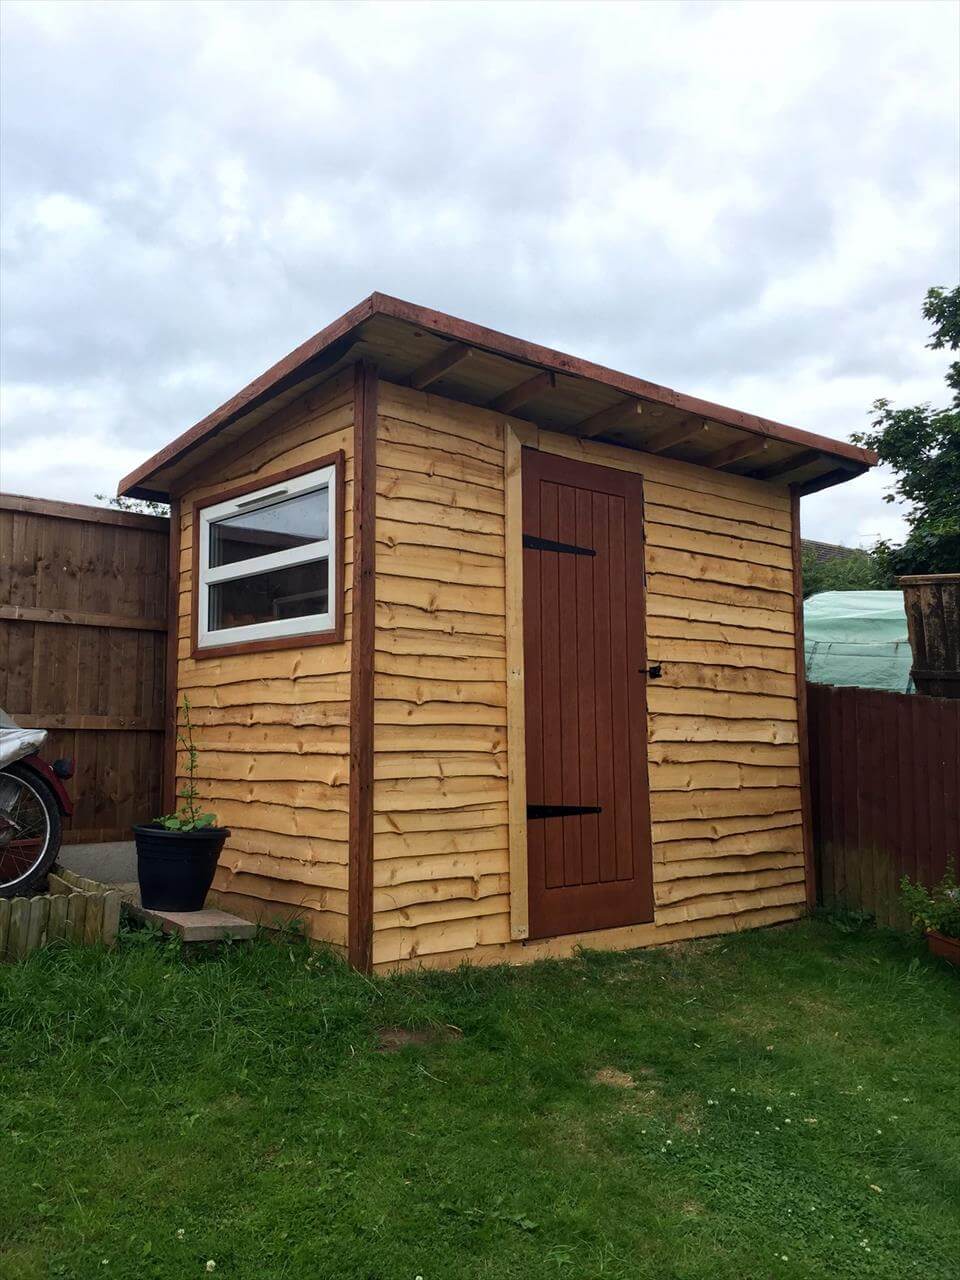
Enjoy Your New Garden Shed!
Congratulations! You've successfully built your own personalized garden pallet shed. This project not only provides valuable storage but also adds a touch of rustic charm to your outdoor space. Enjoy the satisfaction of creating something beautiful and functional with your own hands. Remember to regularly maintain your shed to ensure it stands the test of time and continues to serve you for years to come.


No comments:
Post a Comment
Note: Only a member of this blog may post a comment.